When presenting an application to a user, the design and style may be the most significant. In order for an application to provide a good user experience, it must attract and retain users in addition to having an appealing UI. React is one of the greatest frontend frameworks. A frontend framework is the design layer in applications or websites that is the first thing a user sees when they enter.
React makes it simple to design interactive user interfaces. Create basic views for each state of your project and React will handle updating and rendering the correct components as the data changes.
Convert encapsulated components that manage their own state into complicated user interfaces. You can simply pass data through your application and preserve the state outside of the DOM because the component functionality is defined in JavaScript rather than templates.
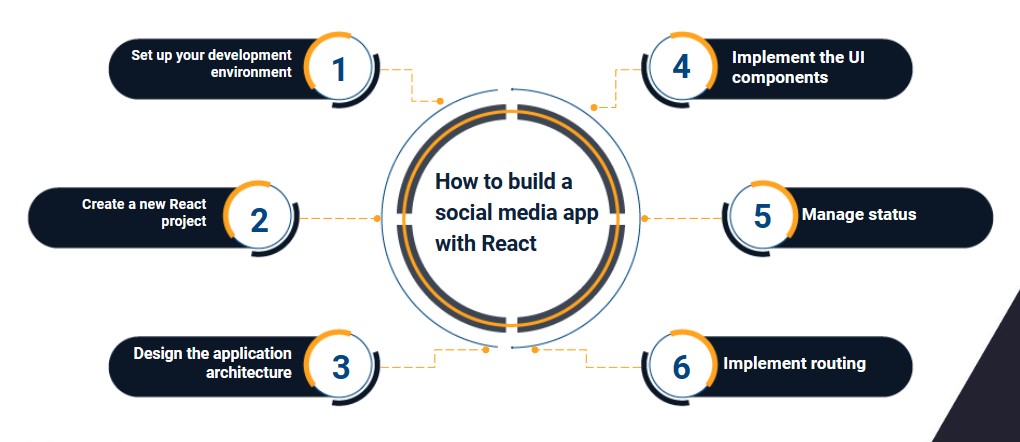
How to build a social media app with React
Creating a social media app with React involves several steps. Here is a general outline of the process:
1. Set up your development environment:
- Install Node.js: Visit the official Node.js website and download the installer for your operating system.
- Install a package manager: npm (included with Node.js) or Yarn.
- Choose a suitable IDE or code editor for React development.
2. Create a new React project:
- Open your terminal or command prompt and navigate to the desired directory.
- Run the following command to create a new React project: npx create-react-app YourAppName
- Wait for the scaffolding of the project to complete.
3. Design the application architecture:
- Plan the structure and features of your social media app, such as user profiles, posts, comments, likes, etc.
- Define the components and their hierarchy based on the application requirements.
4. Implement the UI components:
- Create reusable UI components using React's built-in components and third-party libraries.
- Use CSS or a CSS-in-JS solution like styled components or CSS modules to style your components.
- Ensure a responsive design for different screen sizes.
5. Manage status:
- Choose a state management solution like Redux, MobX, or the React Context API.
- Define global state and reducers to handle the flow of data and updates between components.

6. Implement routing:
- Choose a routing library like React Router to handle navigation between different screens or pages in your app.
- Set routes for various views such as home feed, user profiles, post details, etc.
7. Integrate back-end functionality:
- Set up a back-end server using a technology stack of your choice (for example, Node.js, Express.js, MongoDB, etc.).
- Implement APIs for user authentication, user profiles, posts, comments, etc.
- Connect your React app to the backend using fetch or axios to make API requests.
8. Implement user authentication:
- Add user registration and login functionality.
- Use secure practices like password hashing and token-based authentication (JWT).
- Manage user sessions and authorization for protected routes.
9. Create a user profile and post roles:
- Create screens for user profiles, including profile pictures, usernames, followers, etc.
- Implement features like create, edit, and delete posts.
- Add functionality to like, comment, and share posts.

10. Implement real-time updates:
- Integrate a real-time messaging system using technologies like WebSockets or a service like Firebase Realtime Database.
- Enable real-time updates for new posts, comments, likes, and other user activity.
11. Test and debug:
- Test your app on different browsers and devices to ensure compatibility and responsiveness.
- Debug and fix any issues or errors that arise during testing.

12. Deploy and publish:
- Optimize your application performance for production.
- Build the application for deployment by building a production-ready package.
- Host your backend server and deploy your React app to a hosting provider.
- Register your app in the respective app stores if you plan to publish it as a mobile app.
Keep in mind that creating a complete social media app is a complex and time-consuming task. The steps outlined above provide a high-level overview, and implementation details will vary based on your specific requirements. It is recommended to refer to the official React documentation, tutorials, and example projects to gain a deeper understanding of each step of the way.
We recommend you on video


