Each version of Rootnet provides certain functionalities through a wide variety of web products and services. The new integration with Snov.io is no exception, as you'll discover in this blog (if you don't know Snov.io, you can check their website). Within this vast sea of goodness, there are always some features that generate a lot of enthusiasm among Rootnet customers.
Snov.io is a web solution aimed at sales reps, startups, recruiters and anyone who trusts the reach of email. It helps reduce the time it takes to find and collect leads and candidates.
Integrate these platforms into really simple, but if you're not sure how to do it, follow these steps to get the most out of your CRM.

1. Snov.io Account Creation
The first thing you have to do is create your snov.io account, here you will be asked for an email or username (1) and password (2), and then we move on to the interesting.
2. Snov.io API
From the user panel you must select the API tab once here we take the API user ID (1) and API secret (2).
3. Rootnet CRM Integration Module
Once you have the API user ID (1) and the API secret (2), you will access your Rootnet account, in administration select the integration module, click on Snov.io and you will place each one respectively. Configure the contact rules and click on Save (3).
4. Create unlimited contacts
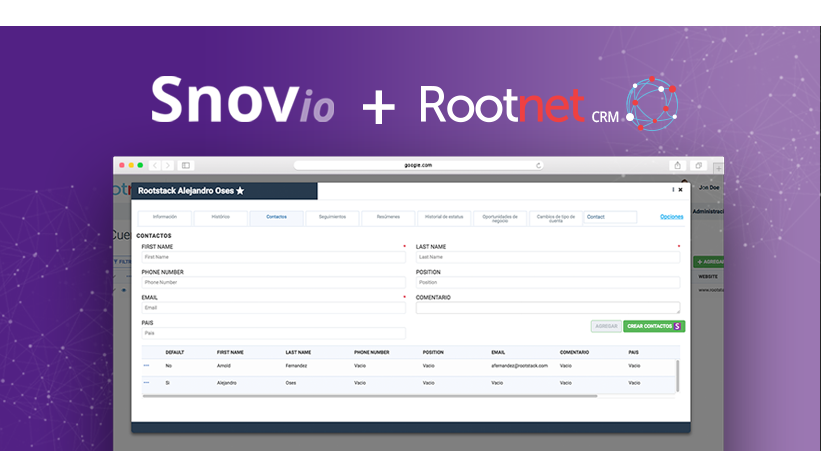
Once you have created the integration with Snov.io enter the account with which you want to obtain new contacts, select the contacts tab and click on Create contacts (1). Then Snov.io's job is to search the contact profiles of the company with their names mail and position within the company, your team will only have to contact them.
This new functionality is already available in Rootnet, if you need help do not hesitate to contact us, if you do not have Rootnet CRM or its modules Intranet, Services Desk and Sync you can get a demo completely free for 30 days to check all its benefits with your team.

